|
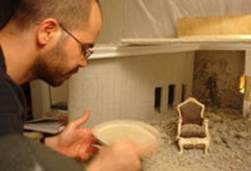
Table Top
Photography
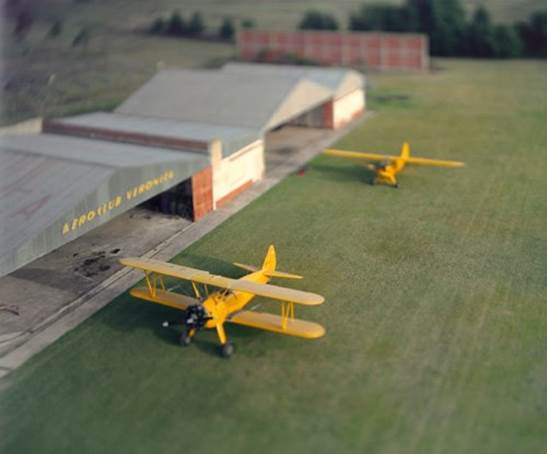
Pastorino Diaz Aeroclub
Phaser Printer info:
IN
STUDIO 214
Phaser 7760DX Laser Printer
Suggested printing settings for printing on high quality laser card stock
semi-gloss paper 11x 17”:
Printer set up:
printer: manage colors
- tabloid
- tray 2 special paper (thick cardstock/glossy)
Image quality (automatic)
Print Settings on computer:
-use printer manger colors
-tabloid (11x17)
-tray 2 for special paper (thick glossy paper) set on computer and on printer
- image quality (automatic)
Artists:
James Casebere http://jamescasebere.com/
Wafa Bilial http://wafaabilal.com/html/bio.html
“The Ashes Series will depict miniature model reconstructions of media
photographs documenting destroyed domestic interiors resulting from the war
in Iraq. Twenty-one grams of human ashes mixed with other organic ashes will
be spread over the model landscapes, rendering every object equal in
importance. The origins of my photographs may appear to be ambiguous at
first, but upon closer observation, the media referents will become clear to
anyone familiar with such images. The models will function as transitional
spaces, echoing the original media images while also becoming ephemeral.” Wafa Bilial
Mimesis: imitation, showing
Diegesis:
telling by narration
How to Tech Tips:
Pro
http://www.tabletopstudio.com/
DIY
http://www.flat5.net/tabletopstudio.htm
http://www.prophotolife.com/video-studio-equipment-guide-part-1-of-2/
http://www.prophotolife.com/video-episode-18-tabletop-photography-all-done-with-mirrors/
http://www.prophotolife.com/prophotolife-instructional-video-diy-studio-product-photography/
http://www.prophotolife.com/quick-video-4-extreme-macro-photography-trick/
* if colors do not
look good try using custom white balance
* Use a reflectors or diffusers with a flood light
* Experiment with depth of field.
Depth of Field
http://www.azuswebworks.com/photography/dof.html
Please keep in mind:
(wider aperture (smaller f/number) = shallow depth of field)
(smaller aperture (larger f/number) = greater depth of field)
PRINT THIS for help in STUDIO with Av
(Aperture control):
http://www.shortcourses.com/tabletop/lighting1-4.html
Other:
Depth of Field video
Depth
of Field Control
Going
off Automatic by Oliva Robinson
Explanations with pictures how the distance you are away
from an object changes the depth of field even with the same aperture.
http://photography-on-the.net/forum/showthread.php?t=672913
From Thomas Perlman
This is the link to the depth of field calculator which tells you exactly how
much of a scene will be in focus based on the focal length, distance from the
object, aperture, and camera sensor size
http://www.dofmaster.com/dofjs.html
From Thomas Perlman
The Tilt-shift
“Toy” Look or Miniature Model Effect Photography:
tiny models of real life or "scale
model effect"
Artists who use this
technique:
Esteban Pastorino Diaz http://www.estebanpastorinodiaz.com/
David Leventhal http://www.davidlevinthal.com/works.html
David Burnett http://www.davidburnett.com/index.html
In Video: http://vimeo.com/6037430
http://vimeo.com/3156959
other videos http://www.photoble.com/photo-inspiration/astonishing-tilt-shift-videos
app for for IPhone http://www.youtube.com/watch?v=4mXqQJbtt0E
http://www.smashingmagazine.com/2008/11/16/beautiful-examples-of-tilt-shift-photography/
Physical techniques
of creating this:
Very shallow Depth of Field achieved by shooting at a large aperture. Some
are shot using an axis tilt shifting the focus to an unusual plane; again at
a large aperture to limit focus to the subject or only a portion of the
subject. Taken with a wide angle lens with a shallow DOF with some vigneting. Wide angle lens wide open focusing at the
center of the scene with a lens hood (or filter with a wide ring) that
results in vignetting.
You can use a lensebaby http://lensbaby.com/video.php?id=8 or make your own
DIY shift tilt lens http://www.youtube.com/watch?v=c0rPecCq1tc
I took one of the
lenses out of the need a 4x loupe, superglued the
loupe to the inside of an old bag I had from a box of paper, and glued the
end of the bag fragment to the hollowed out body
Digitally
creating the tilt shift technique:
good step by step tutorial for post-production in photoshop:
http://www.tiltshiftphotography.net/photoshop-tutorial.php
3D Roundtable Photography
http://www.tabletopstudio.com/documents/EZspin_photography.htm
http://www.tabletopstudio.com/documents/EZspin_photography.htm#6views
Macro Photography
Macro Photography/Close-up Digital
Photography Tutorial by Tony
Northrup:
http://www.youtube.com/watch?v=xeFrQZ03_m8

by Steve
Wall
Tips
For Macro Photography – The Extreme Close-Up
by Christopher B. Derrick
Macro photography has always fascinated me because
practitioners of the art/craft continually amaze me with the small details of
our gigantic world. Much like a Seinfeld bit, Macro photography
typically consists of finding an everyday object and photographing it at such
close proximity that the perhaps mundane — now taken out of context — is
startling and interest-piquing. Marco photography can be extra
enjoyable and elucidating; as you’ll be pleasantly surprised by the myriad of
minute details your camera records. Icicles hanging on a tree branch or
side of house can become surreal when viewed through macro photography.
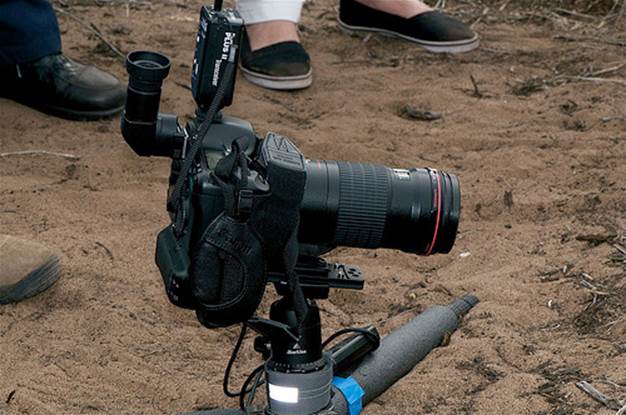
Photo by Jerry Kirkhart
Avoid Camera Shake
When you shoot Macro, your Depth of Field is extremely
shallow, so critical focus is paramount to get a more than good shot.
And what’s the main culprit for soft focus in marco
photography? You guessed it, camera shake. To avoid camera shake
you’ll need to shoot at a higher shutter speed, use a tripod and/or a cable
release. Also, never, never, never use the Auto Focus setting when doing
Macro photography, because the computer can easily be tricked (not that it
matters if you have a huge memory card, but why waste the time?). By
manually focusing your lens, you have precision control of what tiny – but
now huge – details will be the center of attention.
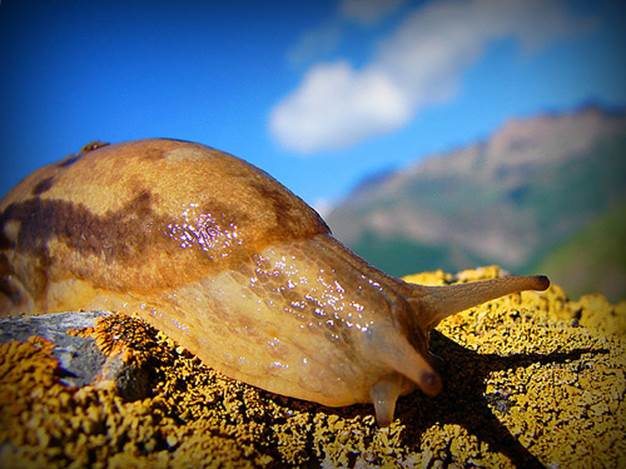
Photo by Hamed Saber
Composition
With macro photography, you can (and should) take your
time to get the composition precisely perfect (or perfect for what you
envision), so don’t hesitate to move up, down and all around the subject of
your gaze. Unless you’re shooting a bumblebee or a humming bird, you
have no time constraint, so using bracketing to get the best exposure to
match the flawless composition. Bracketing, if you didn’t know, is
taking at least three of the exact same photographer at different exposures
(over, neutral and under) to get color accuracy & vibrancy, shadow &
highlight detail and depth of field that you can compare and make the most
dynamic selection.
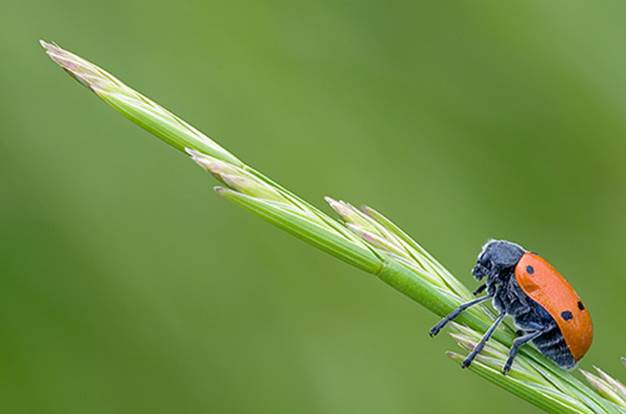
Photo by Aitor Escauriaza
Checklist
Here are some quick things to remember, sort of a
checklist, for macro photography:
1. Simplify your image as much as possible.
2. Fill as much of the frame as possible with your subject.
3. Over-compensate for sharp focus.
4. Experiment with various angles to find the most aesthetically pleasing.
5. Be very aware of the background (which will be out of focus) and eliminate
anything that will be distracting.
Macro photographs show you details of the world that are
more often than not overlooked, because even the simplest subject can seem
more than important and poignant when its surface details are being examined
at such a high magnification. Remember, by looking closer – borrowing a
phrase from American Beauty — you’ll see that you have a whole new array of
subjects to photograph.
Ken Rockwell: How
to shoot macro has other ideas and tips on lenses to use
http://www.kenrockwell.com/tech/macro.htm
|