How-To:
Focus Stacking in Photoshop
By Jeff
Carlson
from https://create.adobe.com/2019/1/29/focus_stacking_in_ph.html
When we look at a scene—for instance, a landscape with flowers near us and mountains in the distance—nearly everything appears tack sharp because our eyes are constantly adjusting focus. However, capturing that level of detail through a camera lens can be a challenge. Using a technique called focus stacking, your images can get close to what your eyes perceive. It only takes a small amount of extra work during shooting and a few minutes of editing in Adobe Photoshop CC.
A focus stack is a combination of images shot at varying focal points that you blend in software. Macro and product photographers often use the technique to control which elements are in focus, but it also works well for landscape scenes.
FOCUS STACKING IN THE
CAMERA
Normally, to get objects in both the foreground and background in focus, you shoot using a narrow aperture, typically within the range of f/8 to f/22. But a narrow aperture doesn’t guarantee sharpness. If a foreground element in your composition is very close to the camera, those mountains can still look soft even at f/22; shooting landscapes with a telephoto lens can also lead to soft results. (In macro photography, narrow apertures don’t have as much of an effect, since you’re not dealing with great distances.)
Instead of fighting with aperture, shoot multiple exposures,
each with a different focal plane. Lock the camera on a tripod if possible,
focus on a foreground object, and take a shot. Next, adjust the focus to an
item in the middle of the scene and shoot. Focus on the background for the last
shot. Or check your camera's manual—some models include a focus-bracketing
feature that automatically fires off multiple shots with different focus
points.
See:
Canon EOS RP Features: In a Snap
| Episode 10: Focus Bracketing https://www.youtube.com/watch?v=5EClL9SDY-k
Or for older camera
models see:
Macro Focus Stacking/Image Stacking Tutorial-How To Do
Close-up Digital Photography https://www.youtube.com/watch?v=F3Dz34MMjQ0
Or Focus Stacking:
Two Minute Tips with David Bergman Focus Stacking: Two Minute Tips with David
Bergman https://www.youtube.com/watch?v=4sq0xLPWTYU
Depending on the scene and the aperture you’re using, you may need more than three shots. The wider the aperture, the more shots at different focal planes you need. Macro photos especially require more frames to work with.
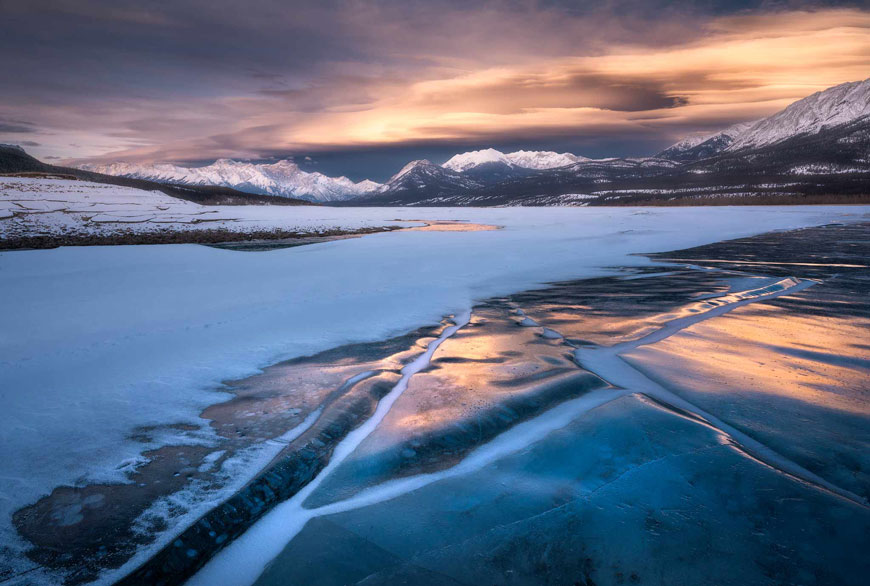
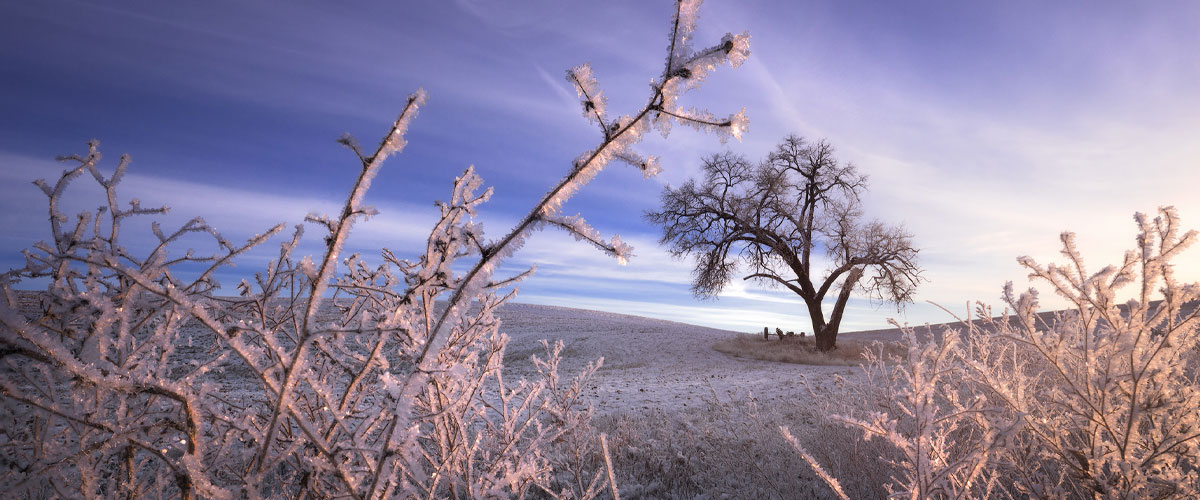
Focus-stacked images by Nick Page.
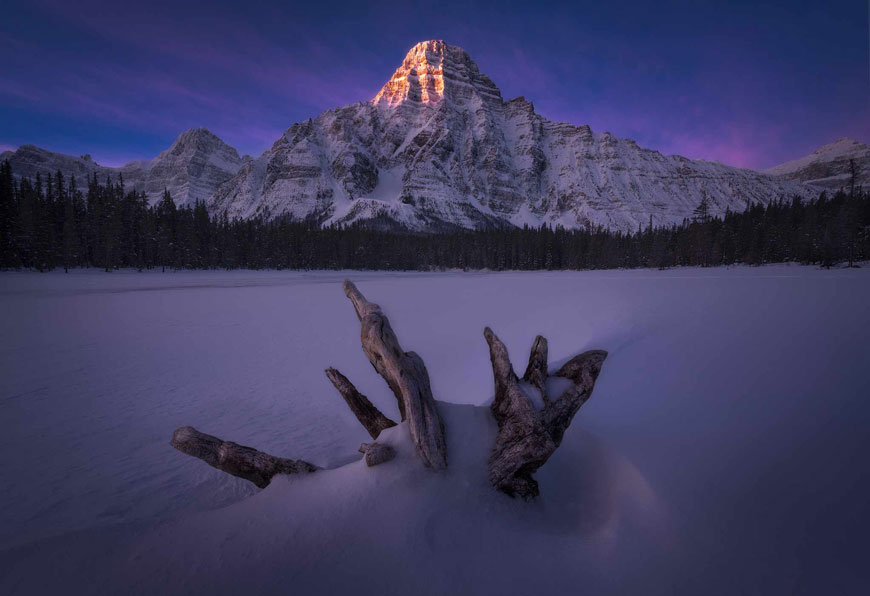
Focus-stacked images by Nick Page.
Photographer Nick Page, who uses the focus-stacking technique frequently in his landscape work, recommends shooting more than you think you need, especially the first few times you try it.
In addition to capturing focus brackets, Page often shoots exposure brackets—versions of each shot at different exposures—for each focus plane to achieve higher dynamic range. And he does so in a specific way: He first captures all the focus planes at one exposure (such as one stop over-exposed) from foreground to background. Then, he changes the exposure (under-exposing the scene) with the same background shot and makes images at the same focus planes from background to foreground. That way, the background pair of over- and under-exposed shots line up perfectly.
He also recommends keeping an eye out for situations that make focus bracketing difficult or impossible. “When you’re shooting in the field, you can head off so many struggles before they happen,” Page says. Beware of objects moving in the scene, such as foreground elements swaying in the wind that will appear blurry due to motion when you blend photos together.
FOCUS STACKING IN PHOTOSHOP
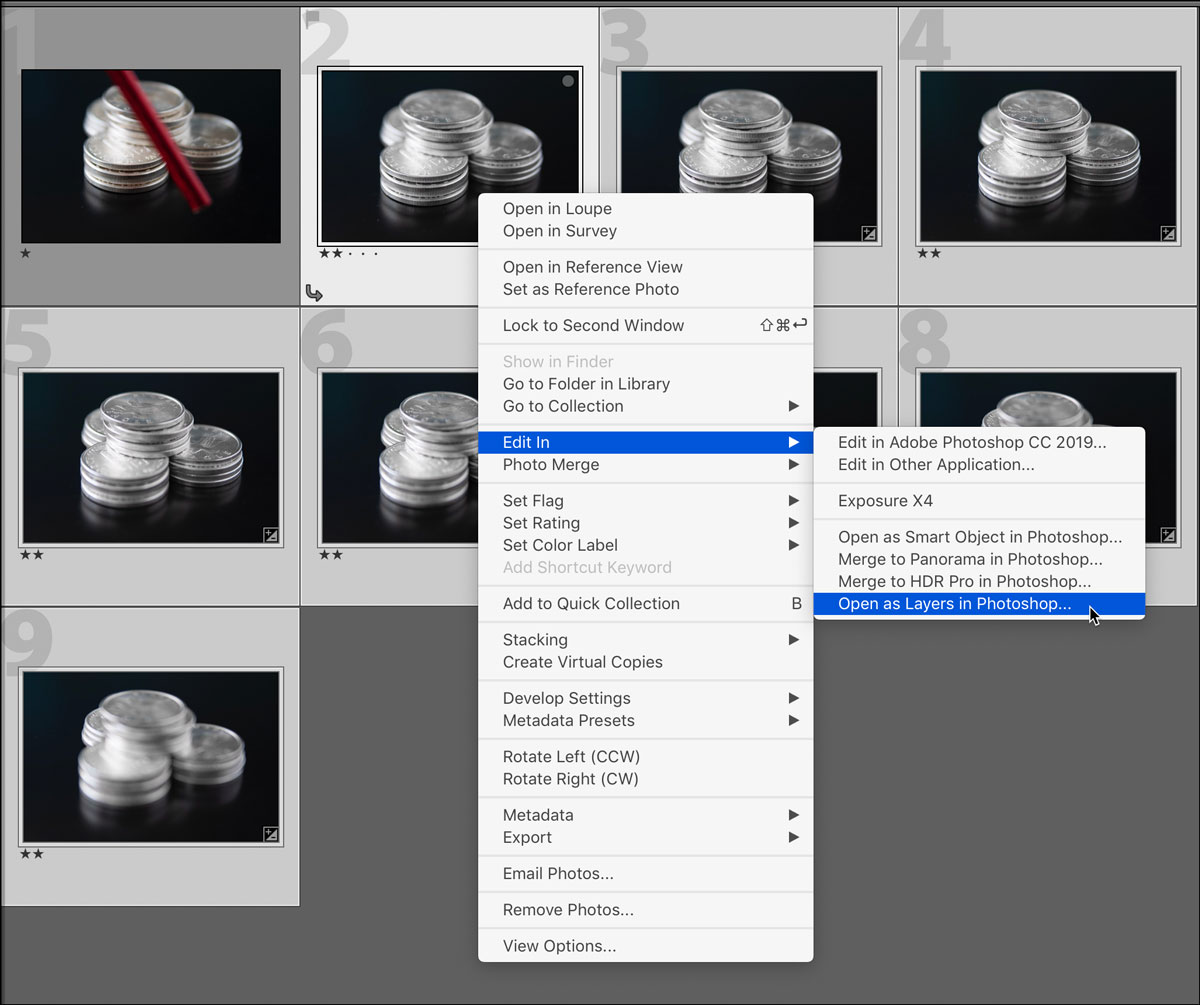
While our eyes focus immediately, applying multiple levels of focus among several photos requires digital assistance. After you import the images into your computer, open them as layers in Photoshop by choosing File > Scripts > Load Files into Stack; navigate to the image files and click OK. Or, if you've already imported the images into Lightroom Classic CC, you can open them from Lightroom: Just select the images and choose Photo > Edit In > Open as Layers in Photoshop.
(If you used exposure bracketing while shooting, first combine each set of exposures before sending them to Photoshop. In Lightroom Classic, for example, you’d select the bright and dark versions of one focus level, and choose Photo > Photo Merge > HDR to create a single HDR image to open in Photoshop.)
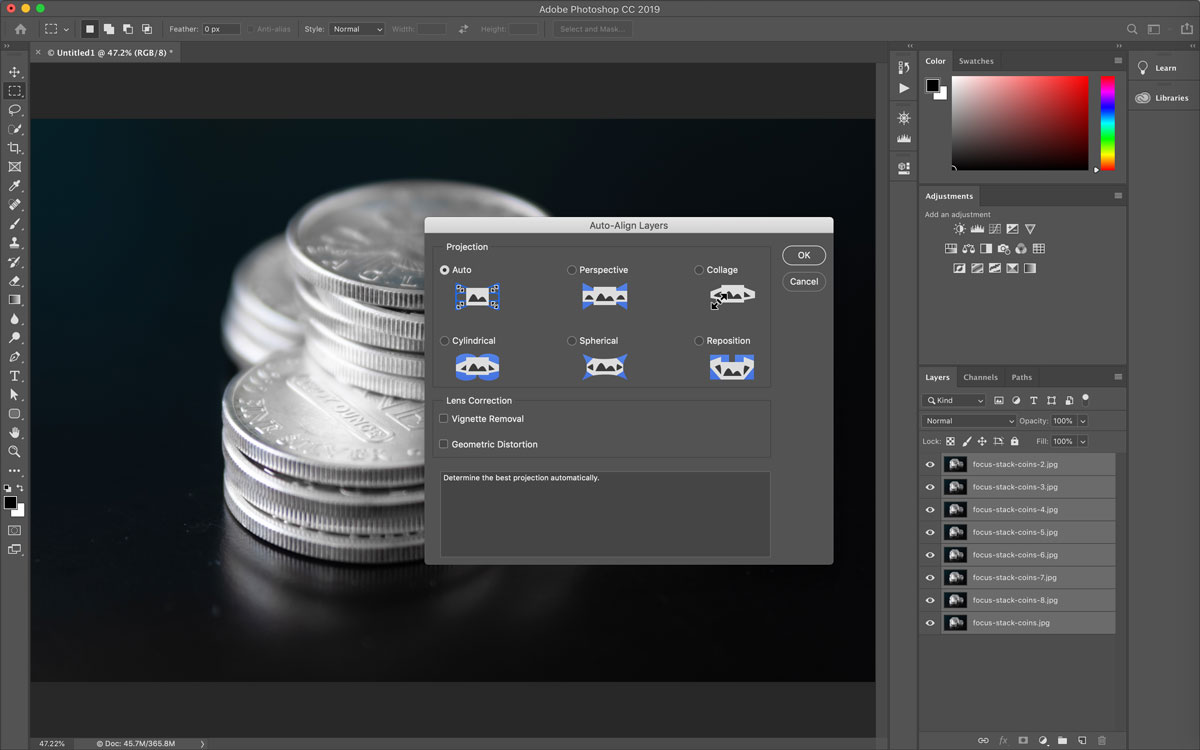
Once the images are in a stack in a single Photoshop file, select the layers in the Layers panel and choose Edit > Auto-Align Layers. Leave Auto selected in the Auto-Align Layers dialog and press OK. This step is important even if you shot on a tripod.
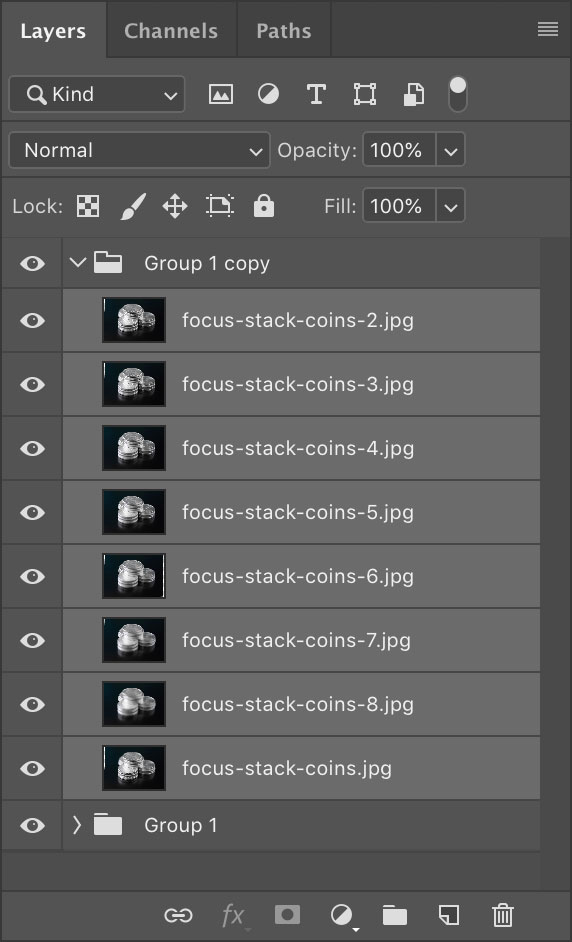
Next, Nick Page recommends selecting the layers and grouping them into a folder (press Control/Command-G), and then duplicating that folder (press Control/Command-J). If Photoshop's automatic blending isn’t to your liking, you have a backup copy of untouched layers.
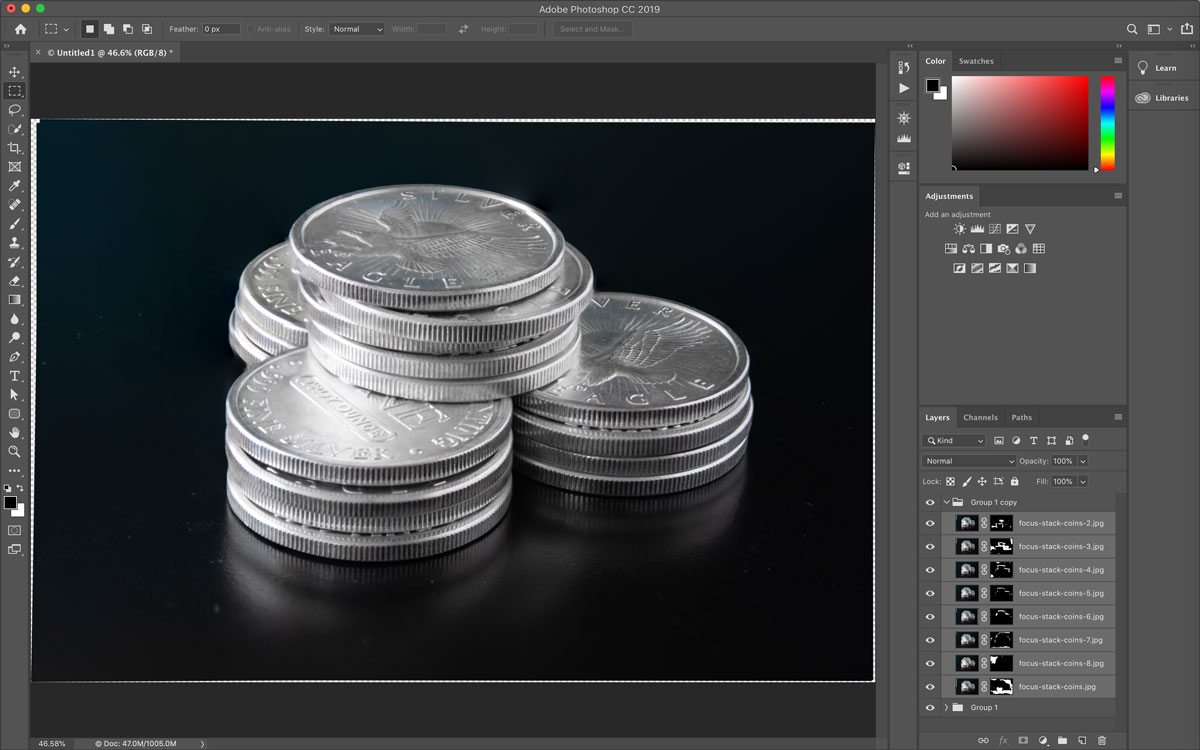
Select the layers in the group and choose Edit > Auto-Blend Layers. In the dialog that appears, select Stack Images and (optionally) turn off Content Aware Fill Transparent Areas. Click OK.

Photoshop then creates a layer mask for each layer that allows the sharpest areas to remain visible.
Now that you have a focus-stacked image, you can apply tone, color, and other adjustments to match what your eyes saw when you were capturing the scene.
January 29, 2019
All landscape photos copyright Nick Page.
Share
Worth it


The
Surreal World of Cristina Daur